A medical office needs more than a name on the front door. Reception, exam rooms, consultation spaces, and staff areas each need clear wording. Use a consistent lettering style throughout the practice while keeping each room’s purpose easy to recognize.
Start with the patient’s arrival: the entrance, check-in point, waiting area, and route to the appropriate room. Then list the staff-only spaces and office labels. For a doctor’s name or practice wording, use custom text rather than forcing it into a generic label. This is ordinary cut-vinyl lettering, not a promise of clinical or accessibility compliance.
Your project checklist
Confirm the approved practice, provider, and room names before creating the designs.
Measure the available lettering area on each door or glass panel.
Group repeated exam-room labels, then add the unique office and reception wording.
Review the design and dimensions in the studio; save the summary for the person approving the order.
Where do I start for a doctor’s office door?
Choose a room label below or open the custom-text studio for the exact provider or practice name. The studio lets you change wording, font, color, width, and mockup background before adding the reviewed design to the preview cart.
USEFUL STARTING POINTS
Lettering for this project
Open a design to change the wording, color, font, and dimensions.
Required tactile, Braille, accessibility, and safety signs must be considered separately. These decals should not be treated as a substitute for signage your facility is required to provide.
Planned physical decals use quality clear transfer tape for precise alignment. Apply the lettering, then peel away the transfer tape. Surface suitability still needs to be checked.

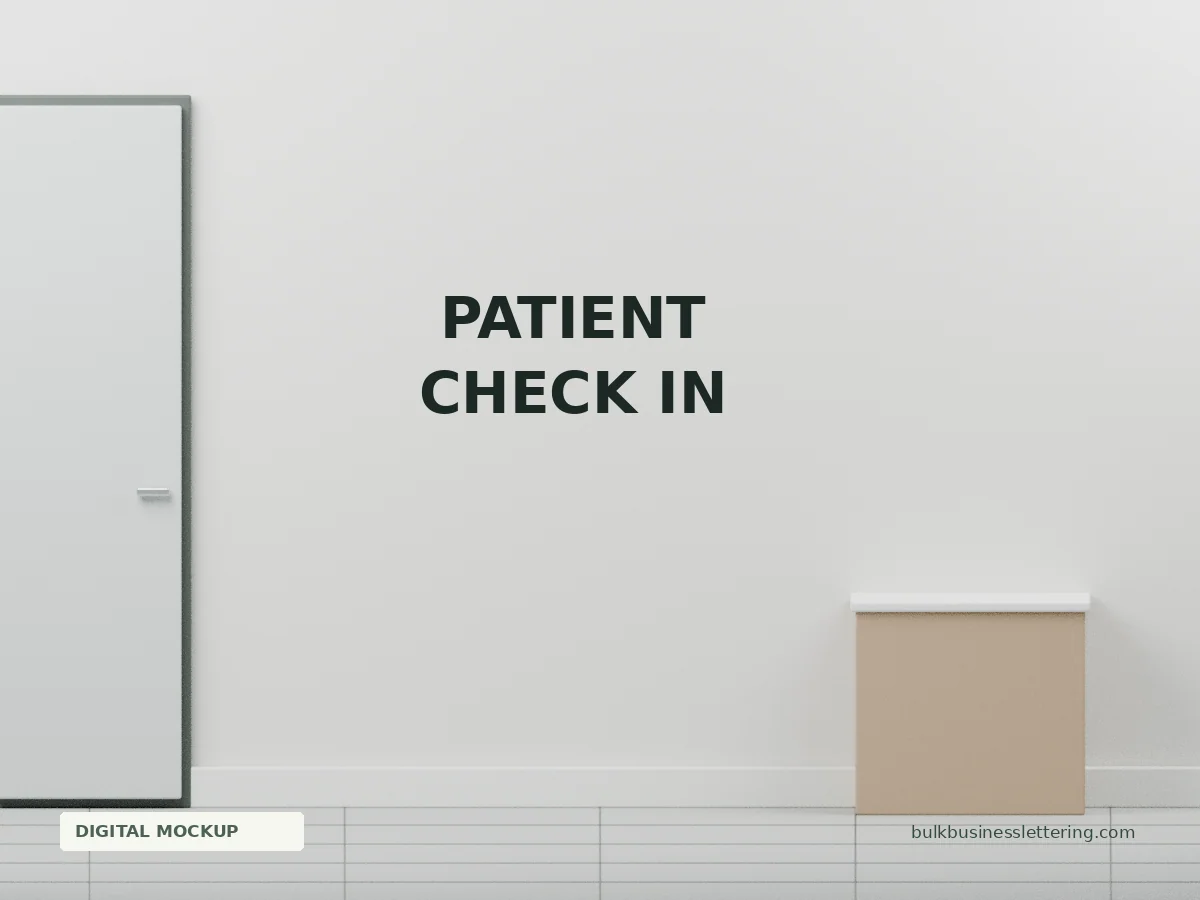 Patient Check In
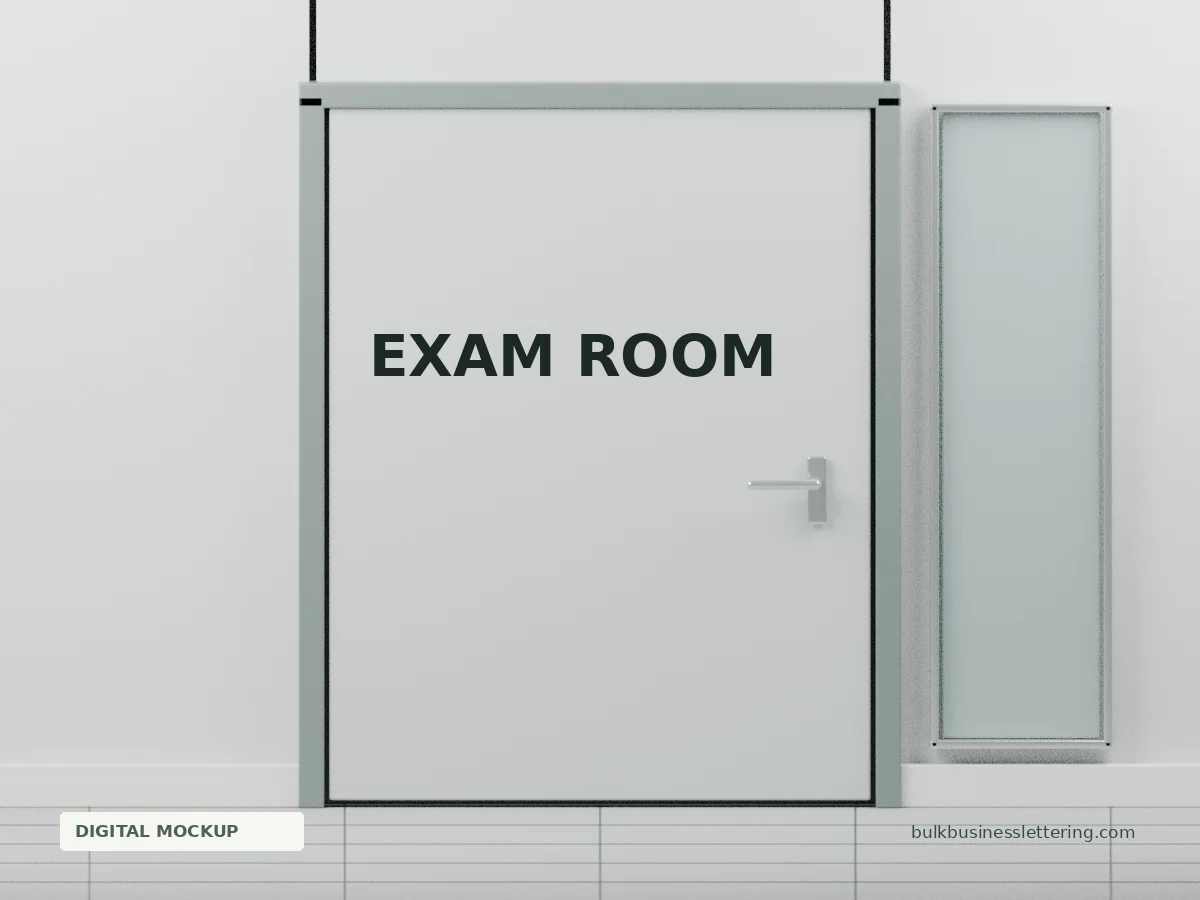 Exam Room
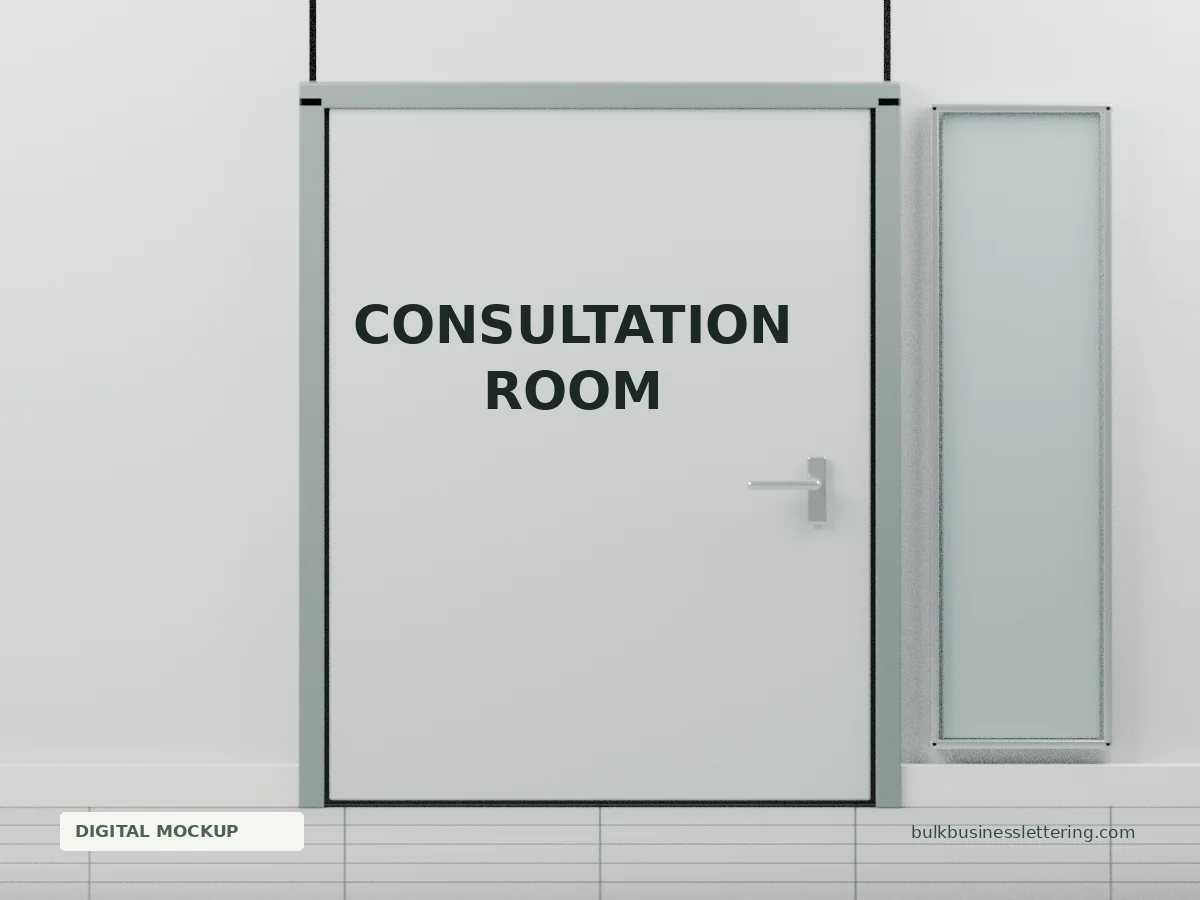 Consultation Room
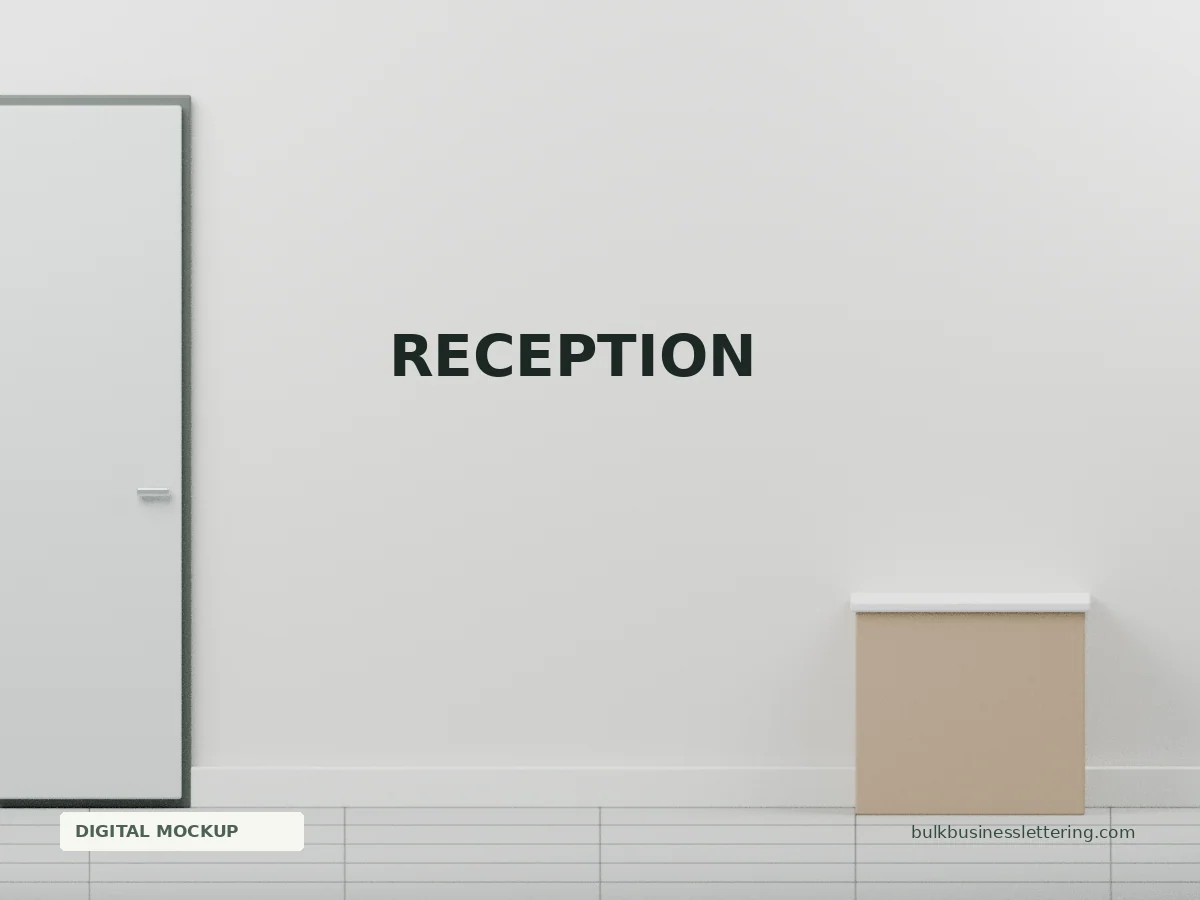 Reception
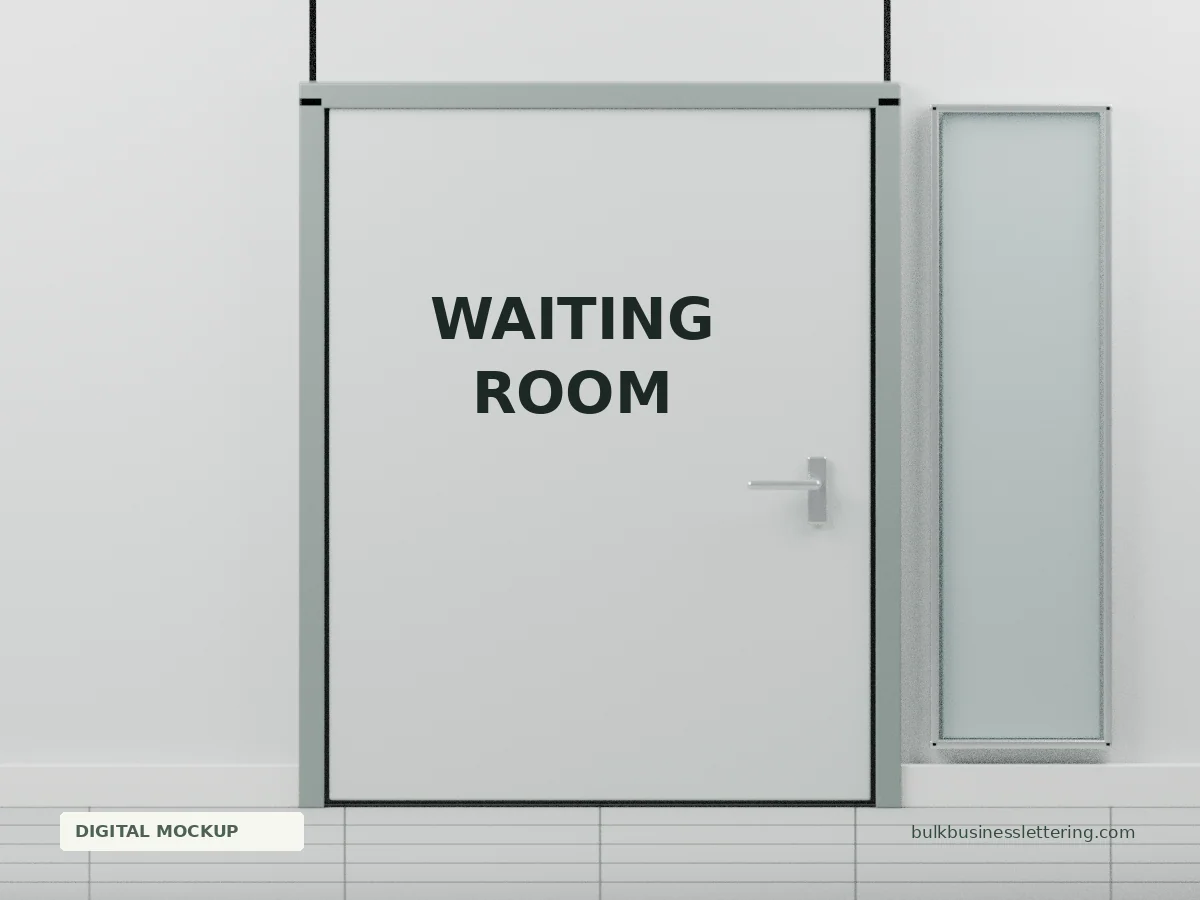 Waiting Room
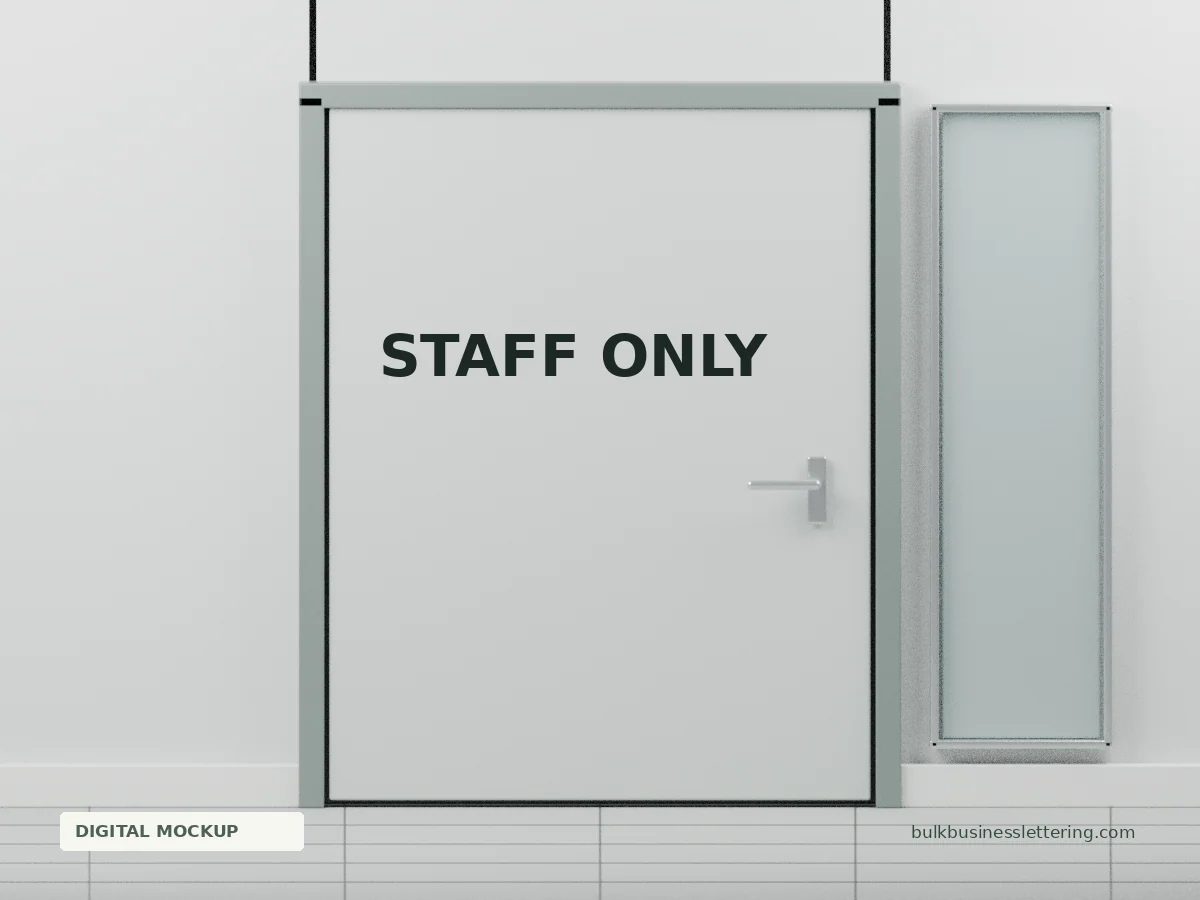 Staff Only