When a floor or office suite is being fitted out, the lettering needs to work as a set. Match the everyday room labels, customize tenant or suite wording, and keep a record of what belongs at each location.
Begin with the main entrance and reception, then list offices, meeting rooms, shared spaces, and back-of-house rooms. Longer room names need their own dimension review; selecting the same width does not mean every design will have the same height. The studio shows the linked lettering height as the wording changes.
Your project checklist
Choose a naming convention for rooms and suites before making the list.
Measure doors and glass panels, including the space left around hardware or existing signs.
Keep a common font and color, then adjust width for the wording and available area.
Use Add another design after saving to retain the settings while entering the next room name.
Can I make a set of different suite or room numbers?
Yes. Use custom text for the exact number or name. Add each design with its own quantity, or use the bulk list for multiple labels. The studio does not automatically generate a numbered range, so review every identifier before adding it.
USEFUL STARTING POINTS
Lettering for this project
Open a design to change the wording, color, font, and dimensions.
The background is illustrative, not a measured door. Ordinary vinyl labels are not a replacement for any required tactile or accessible room-identification signs.
Planned physical decals use quality clear transfer tape for precise alignment. Apply the lettering, then peel away the transfer tape. Surface suitability still needs to be checked.

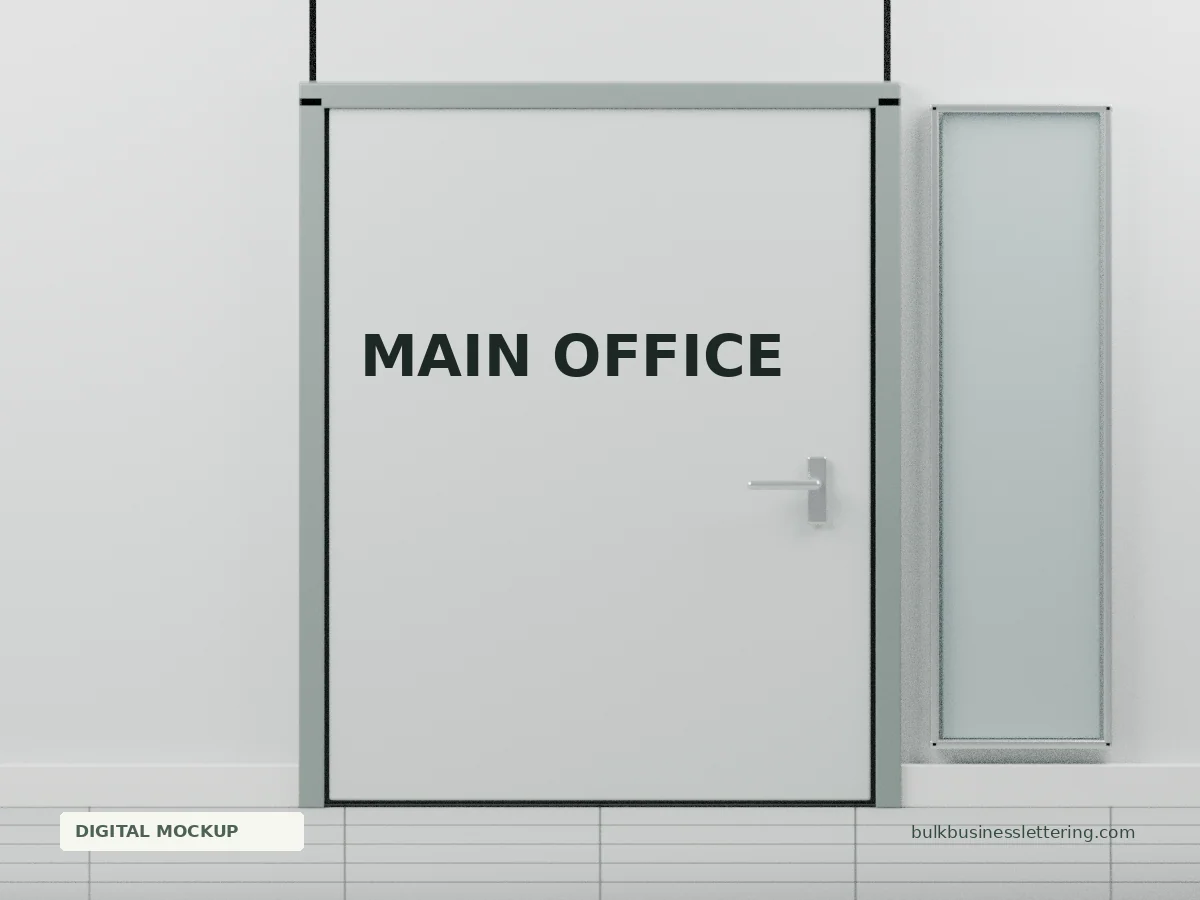 Main Office
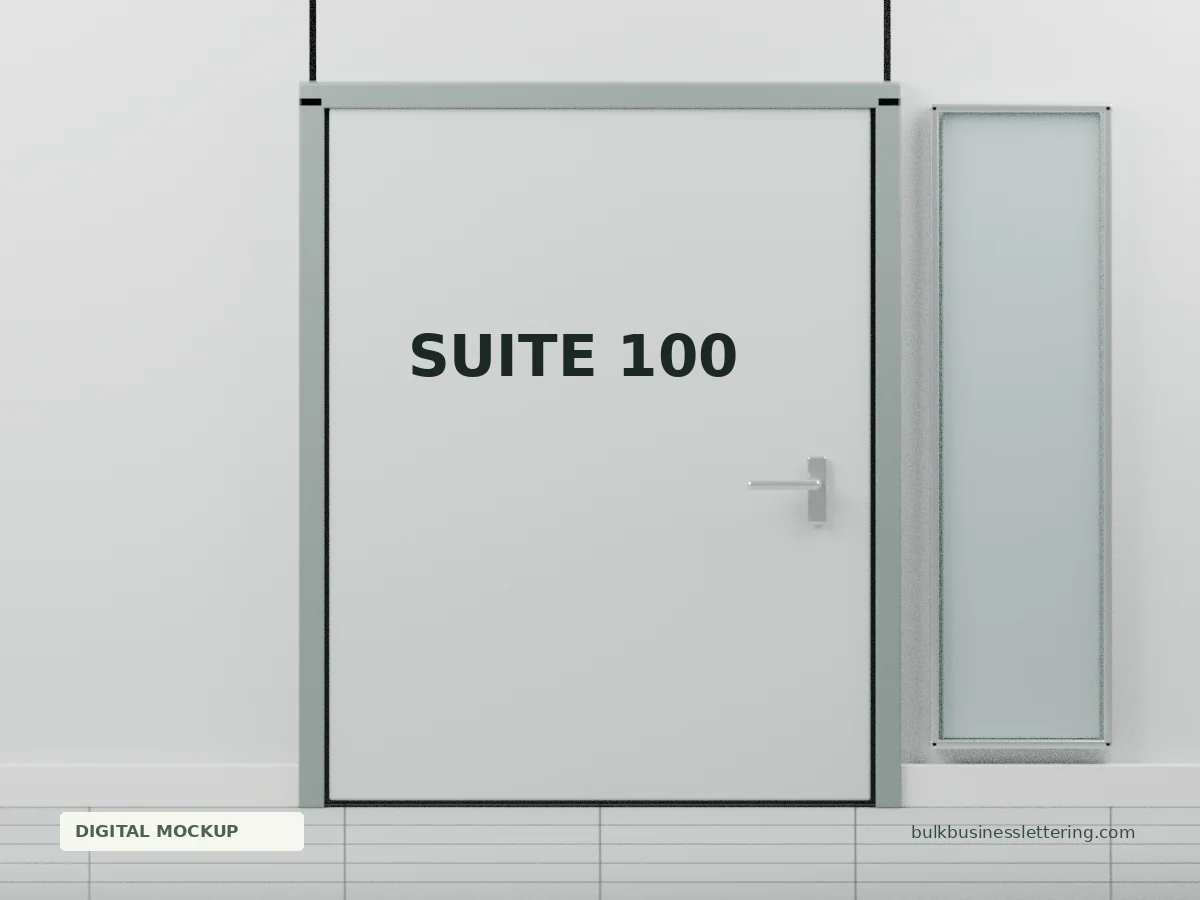 Suite 100
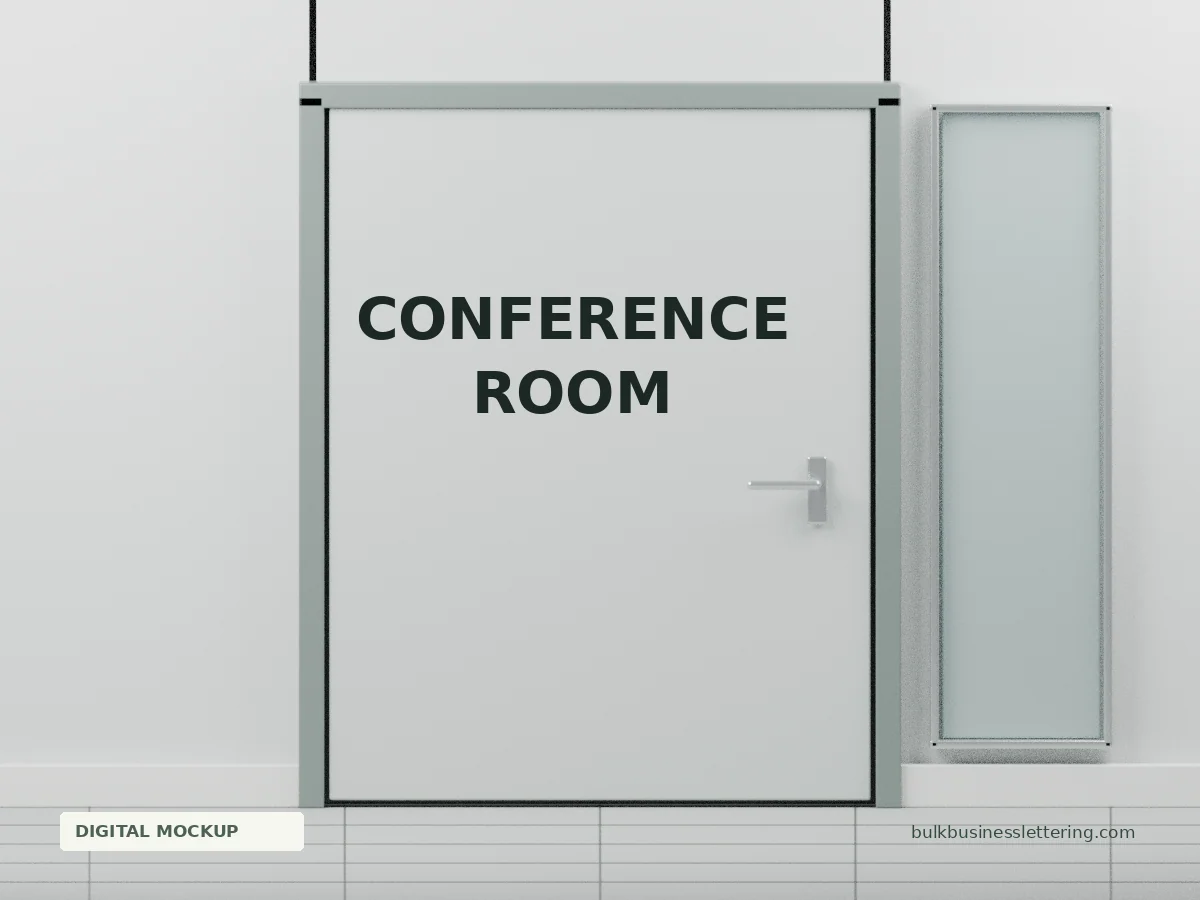 Conference Room
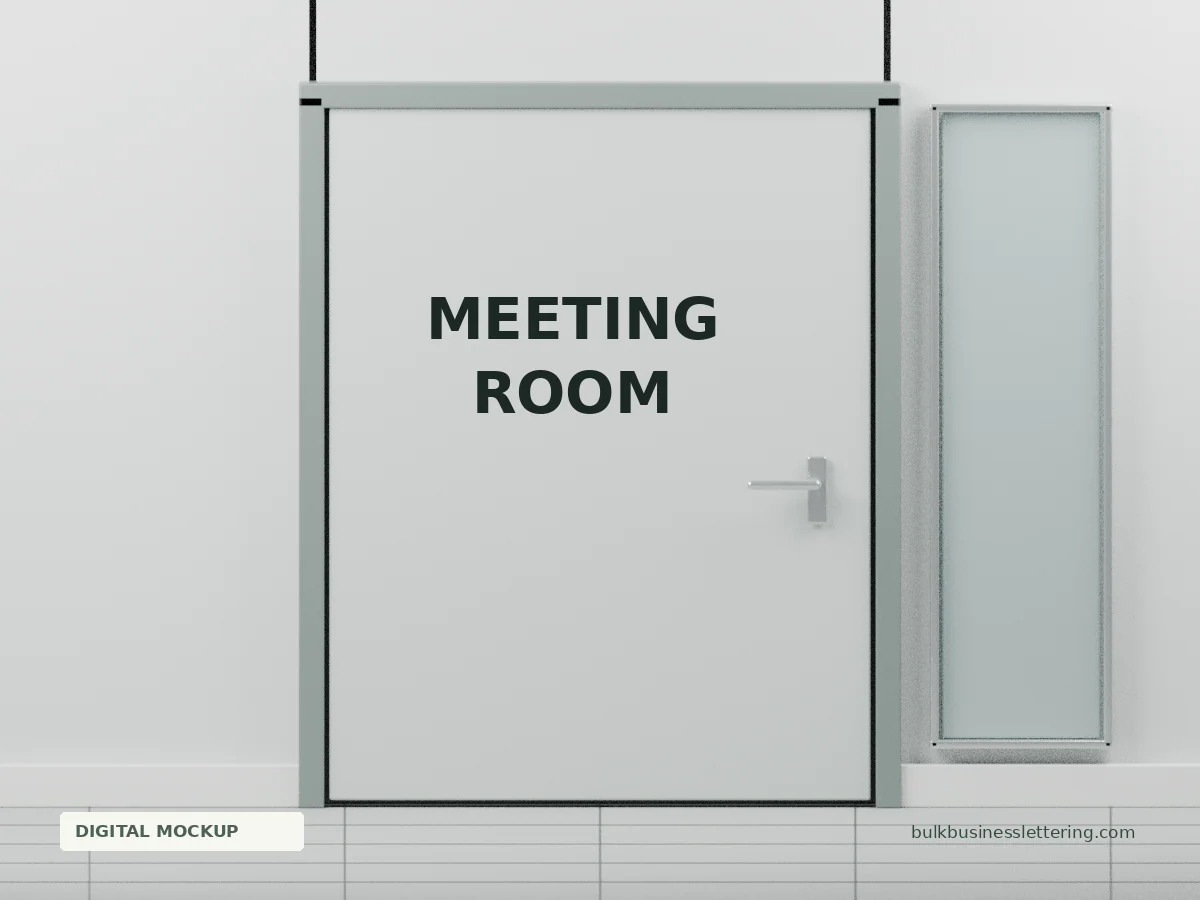 Meeting Room
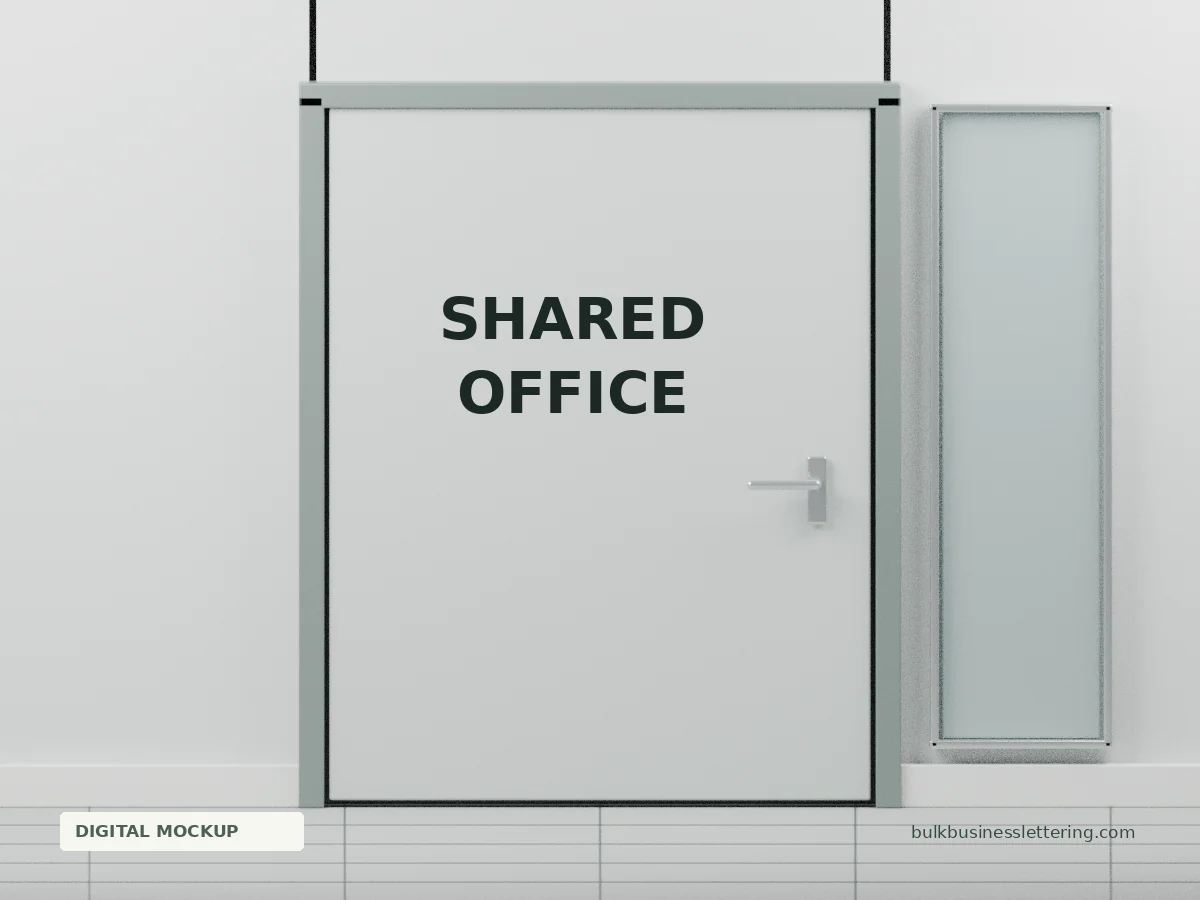 Shared Office
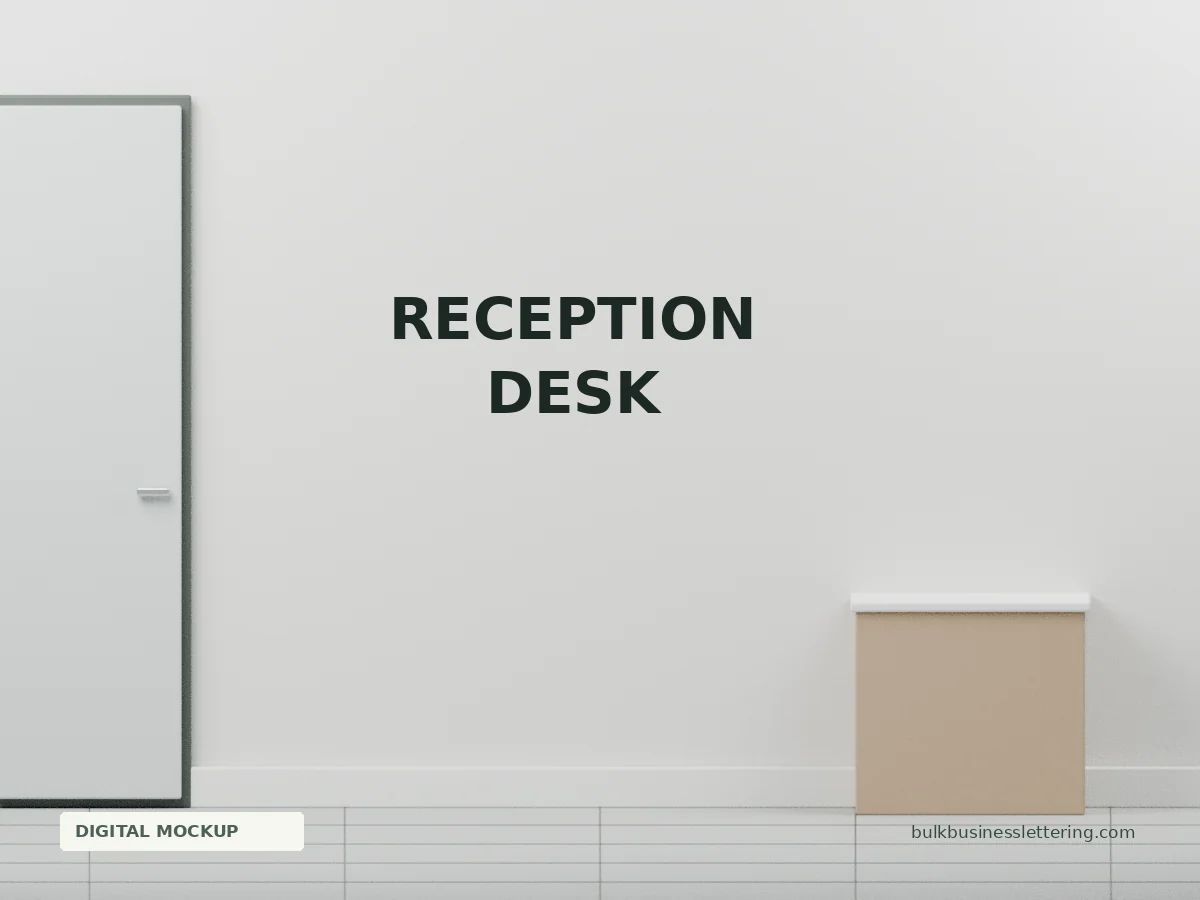 Reception Desk